17 Apr PJP 1992 Civic Hatchback Part 2
Suspicious suspension gets dealt with.
By Aaron Gaghagen
Photos by Aaron Gaghagen and courtesy of Progress Group
In Part One I gave you a breakdown of what the 1992 Civic CX was equipped with and what issues I thought needed addressing. While the stance (No, not that kind of stance.) of the car looked great tucking part of the 205/50-15 tires behind the fenders, I knew that going quicker through turns would require further tuning. I decided to jump on fixing the suspension when the opportunity to work with the suspension experts at the Progress Group presented itself. Why go with Progress Group for suspension? I could tell you it’s because of the numerous FF track Hondas I’ve seen tearing up the track, but the truth is: they know what they’re doing.
I met Jeff Cheechov and Ed Flores from the Progress Group in 2011 at the SEMA show in Las Vegas. When Brian and I went to dinner with them, in between Brian’s epic stories, they would start talking suspension for projects that they were working on or had thought about working on. Halfway through the discussions my eyes would just gloss over since I couldn’t follow what they were talking about. It’s not like I didn’t understand the concepts, but they were operating on a higher level. Those are the kind of people I want to engineer my suspension.
The hatchback was in storage when Jeff asked if he could use it to test-fit some parts that were in pre-production. Of course, I said, “Yes.” I thought that it’d be cool to know that a part on the market would have been helped in its development using my car. Jeff picked up my car from storage and drove it back to Progress. Then, I got the call from him asking me how I could drive a car with such a poor suspension installed. I asked him if he knew anybody that was good with suspension. Luckily for me he laughed at the joke and was willing to help me find the proper coilovers to meet my goals for the project.
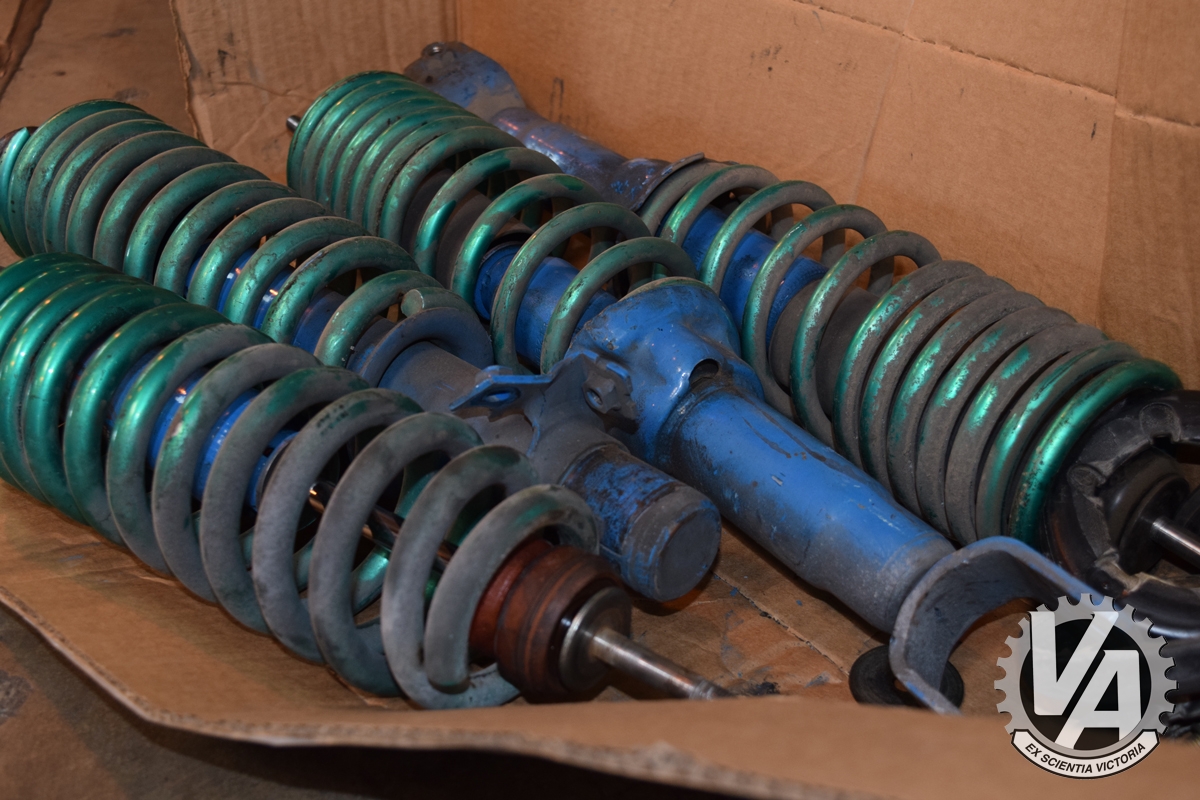
So to make way for the good stuff the old mystery lowering springs and tired Tokico HP shocks were removed. Even though the suspension had not been touched since 2001, save for a camber adjustment kit in 2006, the springs and shocks came out without a hitch. I guess it pays to have an Arizona car. Sure the paint is beat up from the sun, but having no rust is great.
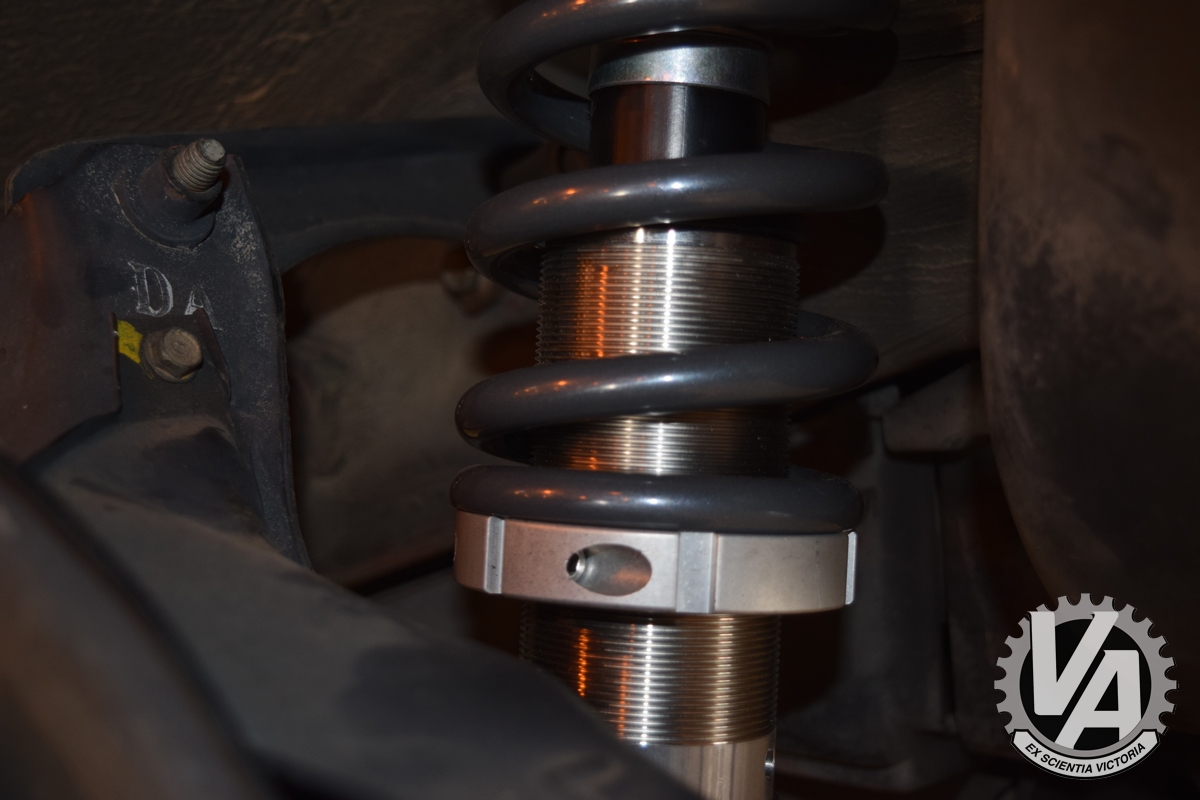
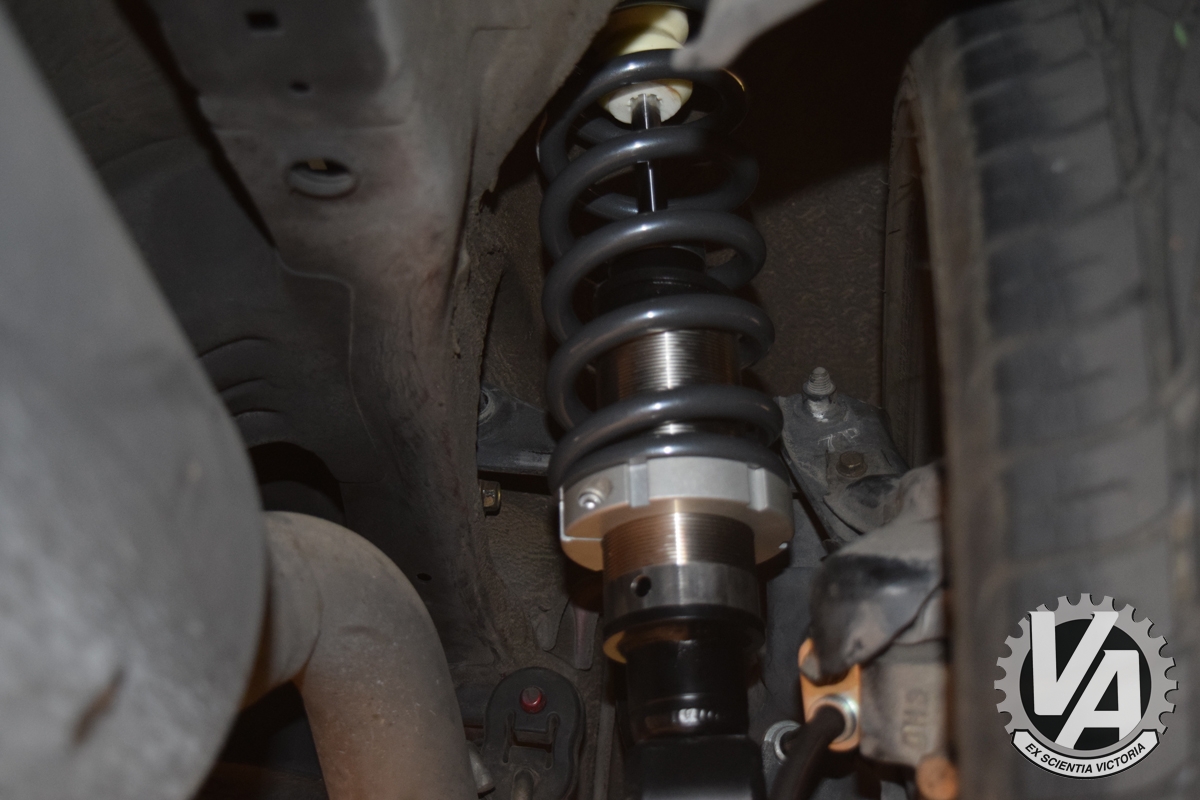
Jeff asked me what my plans were for the project and I told him that I wanted to do some track days, some autocross events, and cruise the back roads. He thought that sounded good and recommended their Competition Series II (CS2) coilovers. The CS2 coilovers are available with eight different spring rate combinations for my hatchback. When selecting the correct spring rates different factors come in to play. Since a B18C resides in the engine bay and this is not a daily driver 450 lbs/in springs all around were selected.
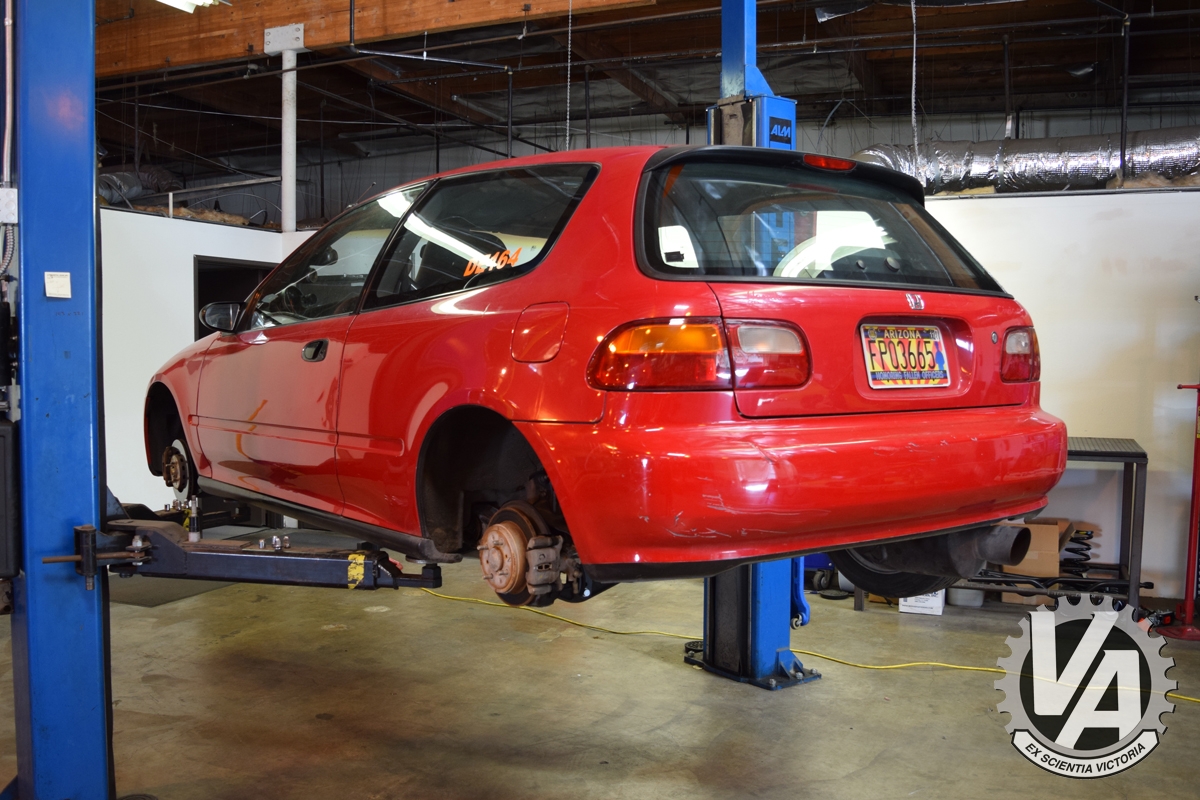
The CS2 coilover kit comes with fresh new bump-stops so the old ones were tossed with the old stuff, too. Take note of the routing of the exhaust piping. This prevents the mounting of a rear anti-sway bar. The stock CX doesn't come with any sway bars, so back in the day some aftermarket manufacturers didn't take other upgrades into account. The exhaust will need to be figured out so a rear sway can be installed to reduce body roll and increase traction.
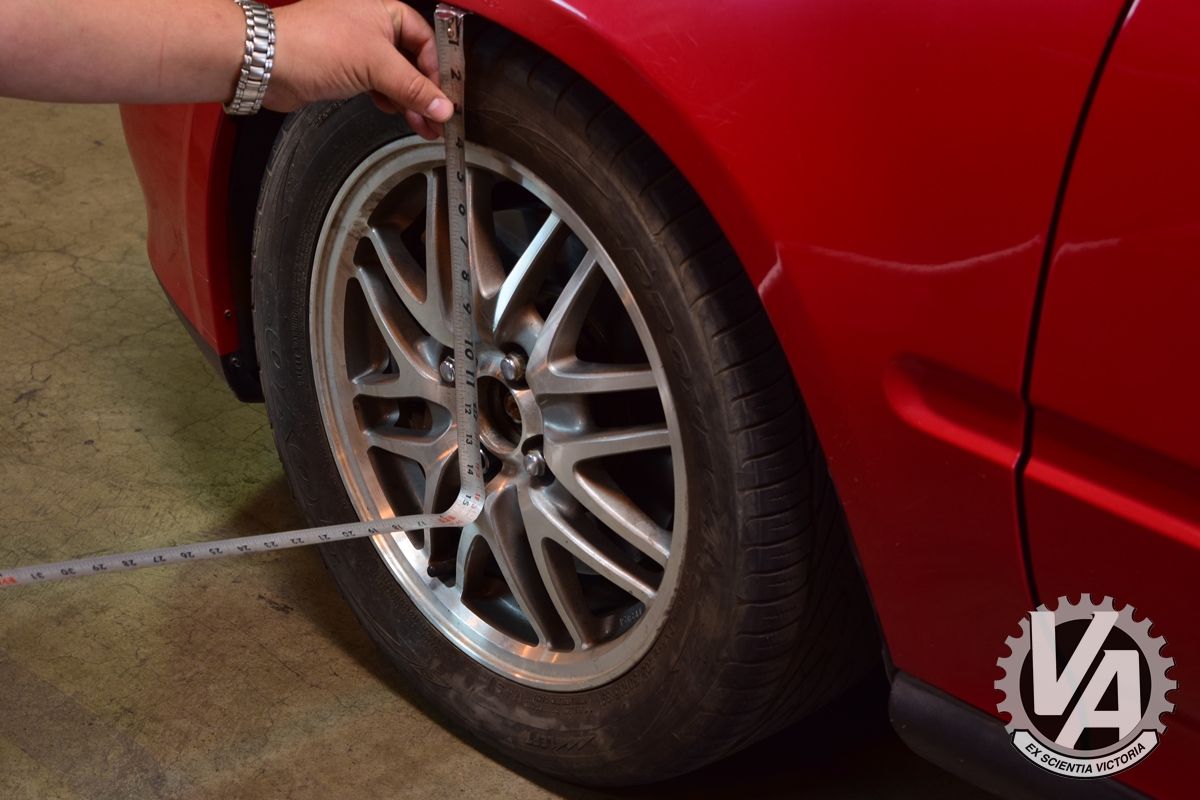
With the coilovers installed the ride height was set at all four corners to 12 inches. This brings the car down nicely where I won’t have to worry about rubbing at full lock and will still have decent suspension travel. Once I can get a good set of tires on, I will decide if I want to bring it down a half inch or so purely for looks but without compromising performance.
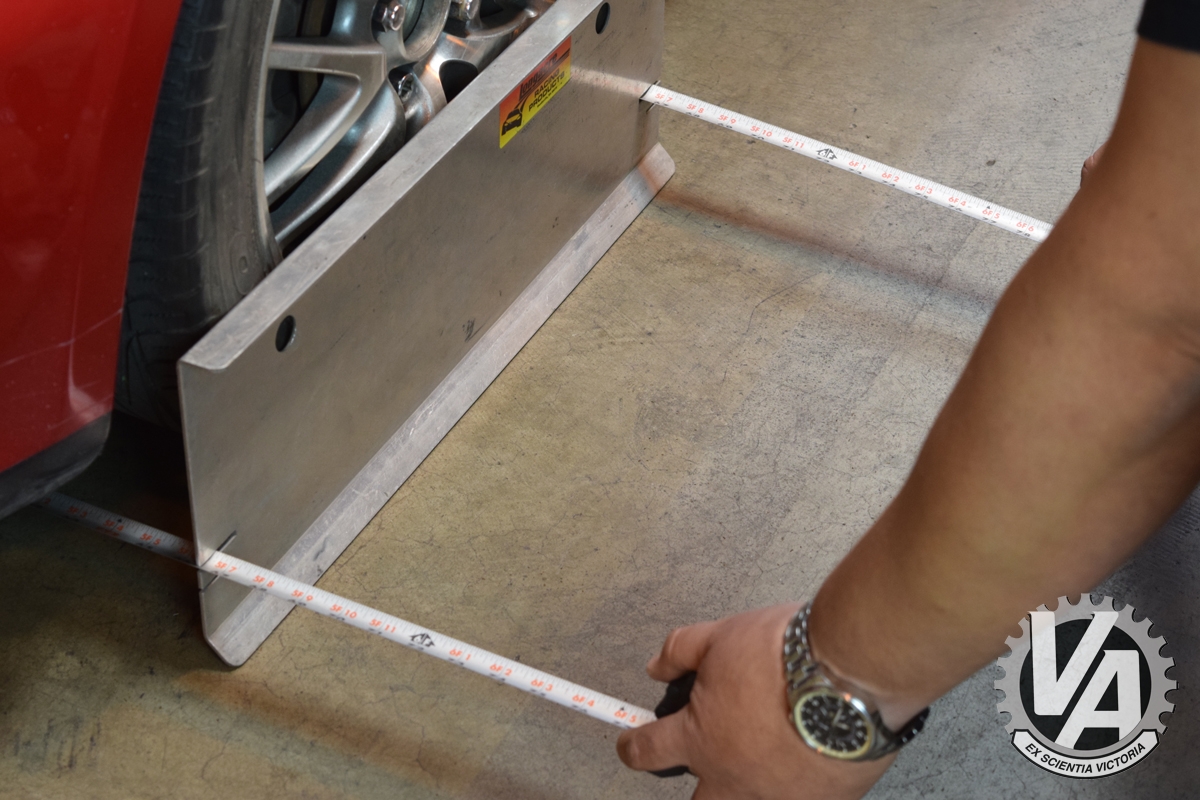
When changing out suspension parts it is important to check your camber and toe to make sure you are still within spec. Because what’s the point of upgrading the suspension if it doesn’t track straight or it chews through tires? My camber was fine and Ed set the toe.
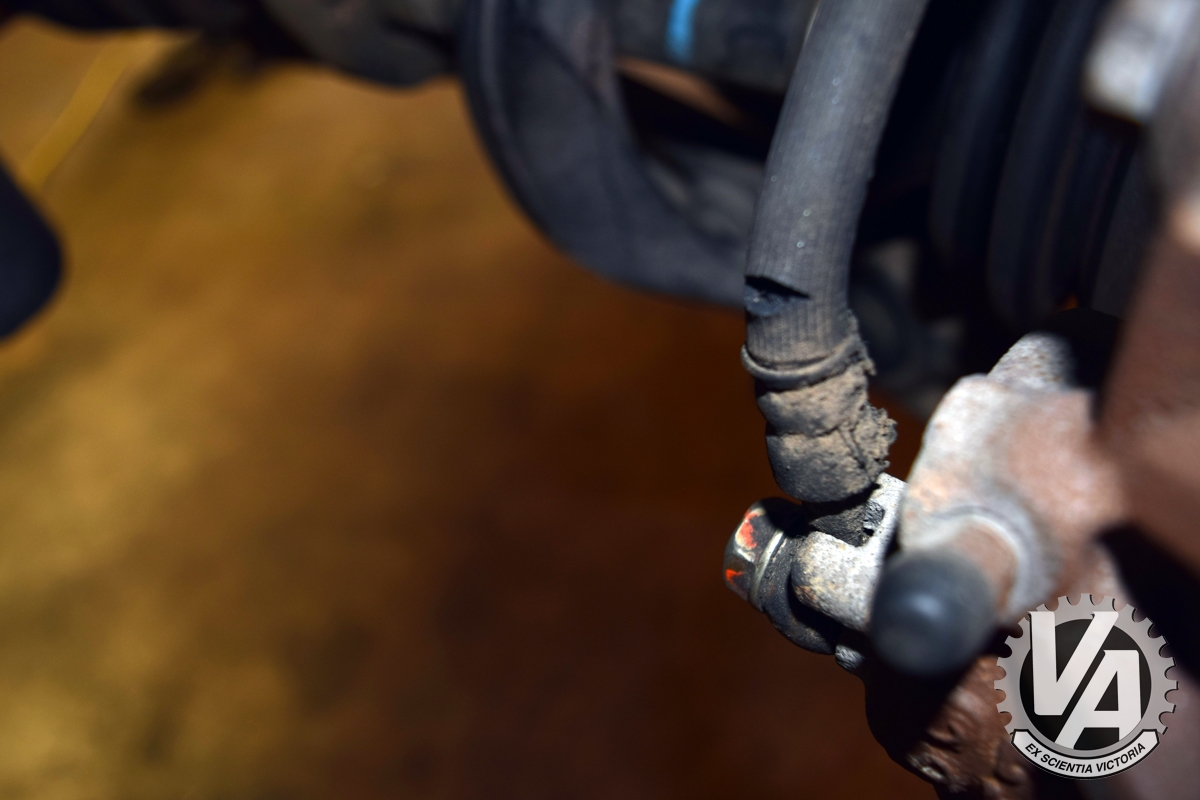
While the car was in the air (as opposed to jack stands like I have at home) I decided to give it the once-over to see if there were any other parts that I should consider replacing before thinking about pushing the limits. Everything seemed to be alright. The bottom of the DC Sports header was dented and starting to rust. It appeared to be mainly surface rust and I don’t think the dent is hurting exhaust flow much, but I’ll start thinking about replacement options. Part of the resonator on the GReddy exhaust was scraped and It looked like it could develop into a small hole, so even if the exhaust wasn’t in the way of installing a rear anti-sway bar, I would be looking in to options there, too. The only pressing issue I found was a rubber brake line that had split open on the outside. It’s not leaking, but it’s only a matter of time before it is. A set of steel-braided brake lines will take care of any possible leaking issues and improve braking feel.

No Comments